Apple’s Airdrop function makes it easy to wirelessly exchange media across devices in close proximity. If you use Airdrop to share files with other people, they will be able to see the name by which your device is known. This detailed guide will show you how to change your Airdrop name so that it better reflects who you are and what your device is capable of.
Step 1: Access the Settings Menu
Start by going to the home screen of your Apple smartphone after unlocking it. Look for the gear icon, which indicates the “Settings” app, and touch on it. To access the main configuration screen, click here.
Step 2: Find the “General” Settings
The “General” option can be found toward the bottom of the options menu. To access the default configurations, tap on it.
Step 3: Select “About”
Find the “About” option in the settings menu and select it. The name of your gadget and other details are listed here.
Step 4: Tap on “Name”
The “About” tab provides information about your device, including the model, software version, and more. To continue, select “Name” from the available options.
Step 5: Enter a New Name
When you go to change the name of your device and then press on “Name,” a text field will appear. If you want to change the name, tap on the current one to bring up the keyboard. Your Airdrop name is completely up to you, and it can include letters, numbers, and even emoji.
Step 6: Save the Changes
Click the “Done” button or press the Return key on your keyboard to commit the new name. All Apple services, including Airdrop, will now reflect the new name you’ve given your device.
Step 7: Verify the Airdrop Name
Swipe up from the bottom of your device’s screen to access the Control Center and verify that the Airdrop name has been updated correctly. The network settings card (including Wi-Fi, Bluetooth, and cellular data) can be widened by pressing and holding on it. If you have changed your Airdrop name, the change should reflect in the enlarged menu.
Step 8: Update Other Devices (Optional)
You may want to change the Airdrop name on all of your Apple devices that share the same Apple ID. This way, your files will look the same across all of your devices and file sharing will be less of a headache. Simply repeat the preceding procedures on each unique device to change the Airdrop name.
Step 9: Consider Privacy Settings
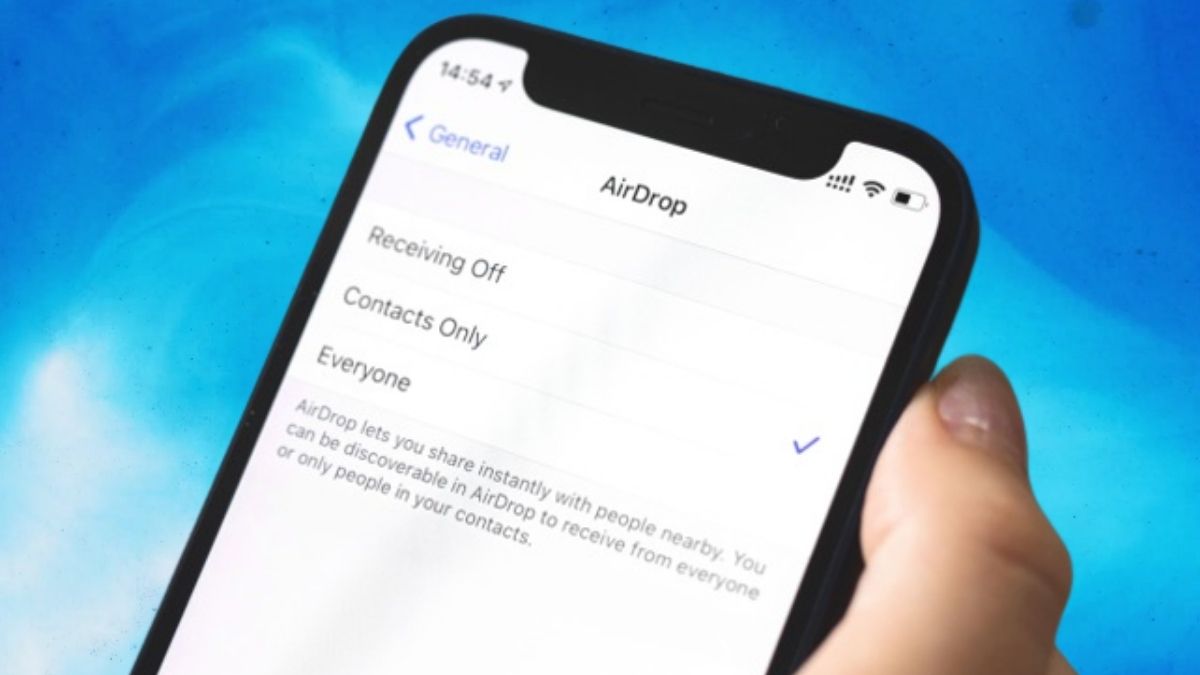
Changing the Airdrop name on your device is a fun way to put your own stamp on it, but it’s crucial to keep your privacy in mind. You may control who can send and receive files with Airdrop from your device. Press and hold the network settings card (Wi-Fi, Bluetooth, or Cellular Data) in the Control Center to make changes to these options. Select the desired setting by tapping “Airdrop” and choosing from “Receiving Off,” “Contacts Only,” and “Everyone.” Selecting “Contacts Only” restricts access to your device so that only your contacts can view and send you files.
Step 10: Troubleshooting
If you’re having problems updating your Airdrop name, or if the new name isn’t showing up right away, you can try these solutions. Turning off and then on again will reset your device. Make sure you have the most recent software version installed on your device if the problem remains after that. Verify that Bluetooth and Wi-Fi are activated and that your network connection is working properly. Follow these instructions and you shouldn’t have any major problems.
Conclusion
Changing your Airdrop name is an easy way to make your Apple device feel more like your own and improve your overall Airdrop experience. Following the preceding instructions, changing your Airdrop name is as simple as renaming your device to something more personal. If you want uniformity between your devices, you should update the Airdrop name and think about your privacy settings. In just a few easy steps, you can give your device an individual and memorable name through Airdrop. With your new, personalized Airdrop name, file sharing has never been easier.


