Changing engine oil is one of the most fundamental and important vehicle maintenance tasks, yet many people either delay it or rely entirely on service centers without understanding the process. Learning how to change oil empowers vehicle owners to save money, extend engine life, and better understand how their vehicle functions. This guide explains the oil change process in detail, from preparation and safety to disposal and post-service checks, using clear explanations and practical insight rather than technical shortcuts.
Understanding Why Engine Oil Matters
Engine oil performs several critical functions inside a vehicle’s engine. It lubricates moving parts to reduce friction, carries heat away from components to prevent overheating, cleans by trapping contaminants, and protects metal surfaces from corrosion. Over time, oil breaks down due to heat and contamination, becoming less effective at performing these roles. When oil is not changed at appropriate intervals, it can lead to excessive engine wear, reduced performance, and in severe cases, catastrophic engine failure.
Fresh oil ensures smooth engine operation and helps maintain fuel efficiency. Understanding this purpose helps explain why oil changes are not optional maintenance tasks but essential preventive care.
When You Should Change Engine Oil
Oil change intervals depend on several factors, including engine design, oil type, driving conditions, and vehicle age. Older vehicles or those using conventional oil typically require more frequent changes, while modern engines using synthetic oil can go longer between services. Frequent short trips, extreme temperatures, heavy loads, or stop-and-go driving may shorten oil life.
Instead of relying solely on mileage, checking oil color, level, and consistency provides additional insight. Dark, gritty, or thick oil indicates contamination and degradation. Many modern vehicles also include oil life monitoring systems that estimate remaining oil usability based on driving behavior.
Tools and Materials Required
Before beginning, gathering all necessary tools and supplies prevents interruptions and ensures safety. An oil change does not require complex equipment, but proper tools make the process efficient and reduce risk.
| Item | Purpose |
|---|---|
| Engine oil | Replaces old oil with correct viscosity |
| Oil filter | Removes contaminants from circulating oil |
| Oil drain pan | Collects used oil safely |
| Wrench or socket | Removes drain plug |
| Oil filter wrench | Loosens tight oil filter |
| Funnel | Prevents spills during refilling |
| Jack and jack stands | Safely raises vehicle if needed |
| Gloves and rags | Protects hands and cleans spills |
Choosing the correct oil type and filter specified by the vehicle manufacturer is critical. Using incorrect viscosity or incompatible filters can cause engine damage or poor lubrication.
Preparing the Vehicle for an Oil Change
Preparation is a crucial step often overlooked. Begin by parking the vehicle on a level surface to ensure complete oil drainage and accurate refill levels. Engage the parking brake and turn off the engine. Allowing the engine to warm slightly helps oil flow more freely, but it should not be hot enough to cause burns.
If the vehicle requires lifting, use a jack only to raise it and always support it with jack stands before working underneath. Never rely solely on a hydraulic jack. Wear gloves and eye protection to minimize exposure to oil and debris.
Draining the Old Engine Oil
Once the vehicle is secure, locate the oil drain plug beneath the engine. Position the drain pan directly underneath. Using the correct wrench, loosen the drain plug slowly while applying steady pressure. As the plug comes free, oil will flow rapidly, so keep hands clear and allow the oil to drain fully.
This process may take several minutes. Letting the oil drain completely ensures that contaminants and degraded oil are removed rather than mixed with new oil. Inspect the drain plug for damaged threads or worn washers, replacing them if necessary.
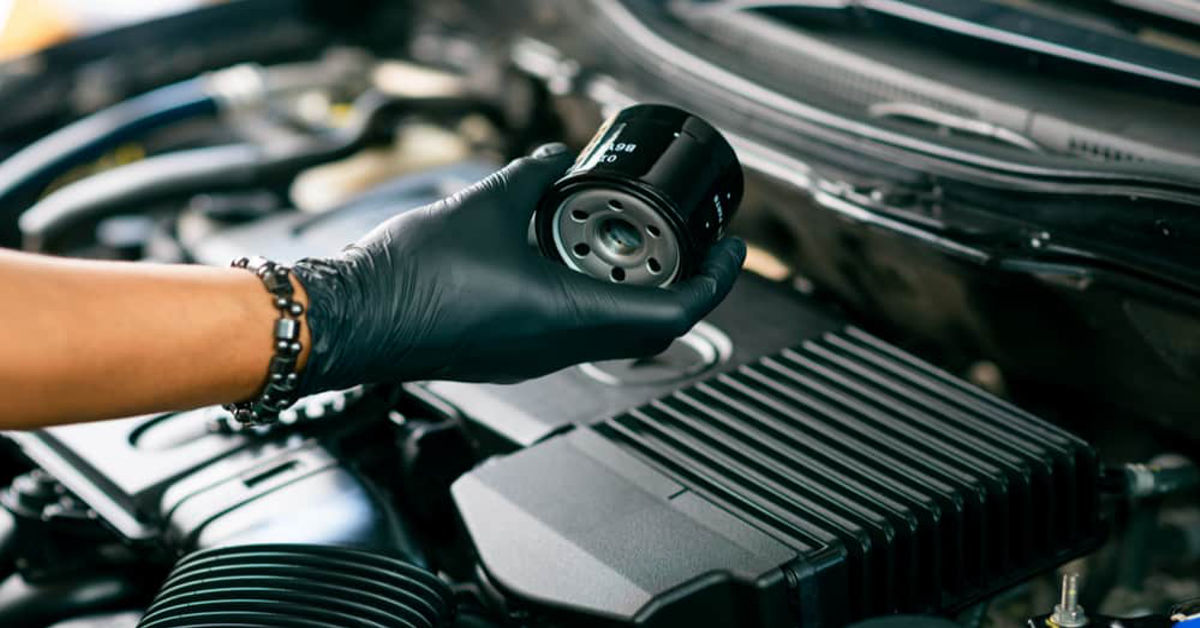
Removing and Replacing the Oil Filter
The oil filter is responsible for trapping dirt, metal particles, and sludge. Removing it while oil is draining minimizes mess. Oil filters can be tight, especially if installed improperly, so an oil filter wrench may be needed.
Before installing the new filter, apply a small amount of fresh oil to the rubber gasket. This helps create a proper seal and makes future removal easier. Screw the new filter on by hand until snug, then tighten slightly more according to manufacturer recommendations. Over-tightening can damage the gasket and cause leaks.
Reinstalling the Drain Plug
Once the oil has fully drained, clean the drain plug and reinstall it carefully by hand to avoid cross-threading. Tighten it securely but do not overtighten, as this can strip threads in the oil pan. A torque wrench may be used if specified by the manufacturer.
Ensuring a proper seal at this stage is critical, as a loose drain plug can result in oil loss and engine damage.
Adding New Engine Oil
With the drain plug and oil filter in place, lower the vehicle if it was raised. Locate the oil fill cap on top of the engine and remove it. Using a funnel, pour in the correct amount of new oil slowly to prevent overfilling.
After adding most of the oil, pause briefly to allow it to settle, then check the dipstick. Add oil gradually until the level reaches the recommended range. Overfilling can cause pressure issues and reduce engine efficiency.
Checking for Leaks and Final Inspection
Start the engine and let it idle for a minute while observing the oil pressure indicator. Turn off the engine and inspect underneath for leaks around the drain plug and oil filter. Recheck the oil level and top up if necessary.
This final inspection confirms that the oil change was successful and that the engine is properly lubricated.
Proper Disposal of Used Engine Oil
Used engine oil is hazardous and must never be poured down drains, onto the ground, or into household trash. Collect the oil in a sealed container and take it to an authorized recycling center or automotive service facility. Many locations accept used oil and filters free of charge.
Recycling oil conserves resources and prevents environmental contamination, making it an essential responsibility of every vehicle owner.
Common Mistakes to Avoid During Oil Changes
Many issues during oil changes result from simple oversights. Forgetting to reinstall the drain plug, double-gasketing the oil filter, using incorrect oil viscosity, or failing to check oil levels can lead to serious engine problems.
Rushing the process increases the likelihood of errors. Taking time to follow each step carefully ensures safe and effective maintenance.
Benefits of Changing Oil Yourself
Performing your own oil changes offers more than cost savings. It allows closer inspection of the vehicle, early detection of leaks or wear, and greater confidence in maintenance quality. Over time, this familiarity helps drivers make informed decisions about vehicle care and repairs.
DIY oil changes also eliminate uncertainty about oil quality and quantity, which can vary in quick-service environments.
Oil Types and Their Differences
| Oil Type | Characteristics | Best Use |
|---|---|---|
| Conventional | Affordable, basic protection | Older engines, light use |
| Synthetic Blend | Improved stability | Moderate driving conditions |
| Full Synthetic | High performance, longer intervals | Modern engines, extreme conditions |
| High Mileage | Added conditioners | Engines with higher wear |
Selecting the correct oil type is as important as changing it regularly.
How Often Should You Change Oil?
Oil change frequency depends on oil type, engine design, and driving habits. While some vehicles can go longer between changes, regular inspection remains essential. Adhering to manufacturer recommendations and monitoring oil condition provides the best protection.
Consistency is more important than pushing intervals to their maximum limit.
Final Thoughts on Learning How to Change Oil
Understanding how to change oil is a valuable skill that supports vehicle longevity, reliability, and performance. While the process requires attention to detail and safety awareness, it is accessible to most vehicle owners with basic tools and patience. Regular oil changes are an investment in engine health that pays off through smoother operation and reduced repair costs.
By approaching oil changes as preventive care rather than a chore, drivers can maintain their vehicles responsibly and confidently.
Frequently Asked Questions
1. Can I change oil without lifting my car?
Yes, some vehicles have enough ground clearance, but lifting improves access and safety.
2. What happens if I skip oil changes?
Skipping oil changes leads to engine wear, overheating, and potential failure over time.
3. How do I know which oil to use?
Refer to the vehicle owner’s manual for correct viscosity and oil type.
4. Is it normal for oil to turn dark quickly?
Yes, oil darkens as it cleans the engine, but grit or thickness indicates replacement.
5. Can I reuse an old oil filter?
No, oil filters should always be replaced during each oil change.