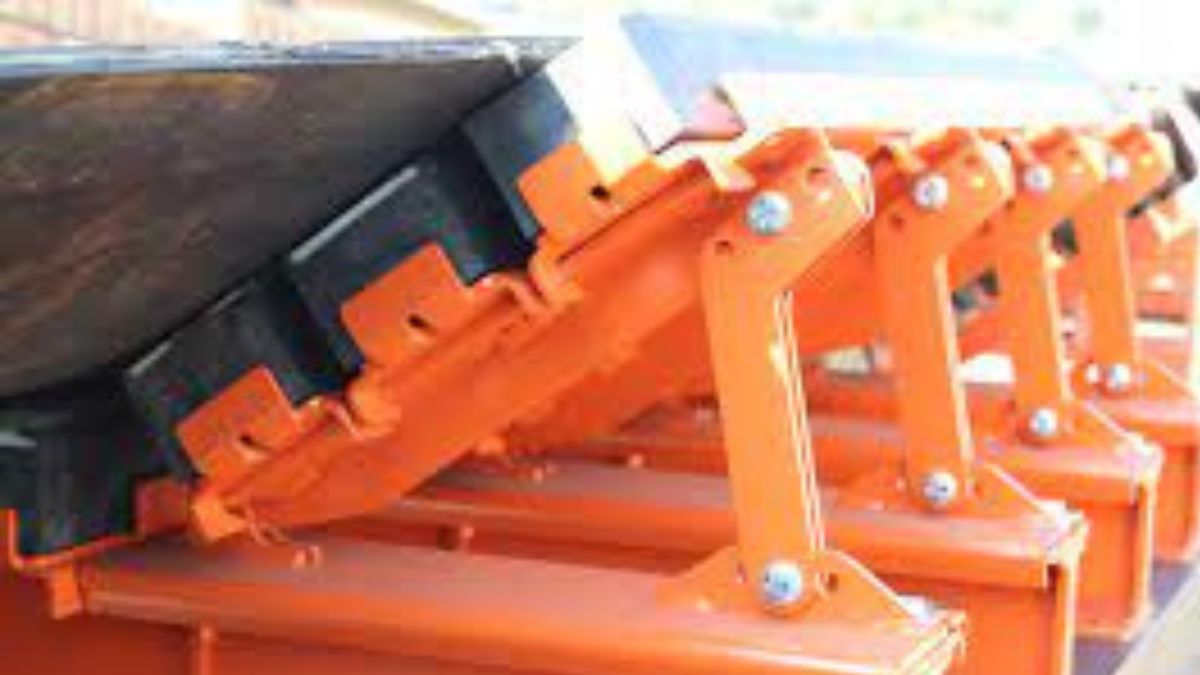
Installing an impact bed is a great way to reduce the wear and tear on your conveyor belt. It’s important to take the time to properly install your impact bed. This article outlines how to install an impact bed in easy-to-follow steps.
Step 1: Identify Location
The first step to installing an impact bed is to identify the correct location for it. Impact beds are designed to provide cushioning and support for conveyor belts at transfer points. This helps protect conveyor belts from damage due to sudden impacts, excessive wear or heavy loads. To choose the right place for your impact bed, consider your operational needs and limits such as access to power, available space, and the belt widths you need support for.
Once you have identified a suitable location, ensure that there is enough room around the bed so that maintenance can be carried out safely and easily. Consider potential obstructions like walls or other equipment which could interfere with installation or operation of the bed. Also check if additional supports are needed to prevent sagging in case of high load applications or long beds. Finally make sure you have all necessary mounting hardware before starting installation.
Step 2: Prepare Surface
Installing a PU conveyor impact bed is a great way to ensure the durability and longevity of your conveyor system. In this article, we will break down the process into easy-to-follow steps, starting with Step 2: Prepare Surface. This step is essential for ensuring your installation goes smoothly.
Before you install the impact bed, you need to prepare the surface it will be attached to. First, clean the surface so that there are no obstructions or debris which could prevent secure attachment. To do this, use a wire brush or vacuum cleaner to remove any dirt and dust particles from the area. Next, you should measure out and mark where each point of contact needs to be for secure installation. This helps guarantee that every point of contact is properly aligned when attaching the bed rails in Step 3.
Step 3: Measure Bed Frame
Installing an impact bed properly is a critical step in making sure your equipment is running efficiently. Impact beds provide support and reduce the shock generated from material on the conveyor belt. Step 3 of installing your impact bed involves measuring the frame of the bed to get accurate measurements for installation.
To measure the frame, start by taking note of all its parts; this will help you make sure you’re measuring everything correctly. Identify any areas where belt rollers may be installed and measure those locations to ensure that they are placed properly, allowing for the correct tensioning of the conveyor belt. Additionally, measure any angles or curves in order to make sure these areas fit precisely when assembling your impact bed later on. Remember to take multiple measurements and record them in order to ensure accuracy throughout the process.
Rubber lined steel pipe fitting
Step 4: Install Legs
Installing the legs of an impact bed is a critical step in ensuring the safety and security of your cargo. Impact beds, which are a type of conveyor system for storing materials, can help to protect pallets from damage during transportation. Without properly installed legs, the conveyor systems may not be secure and could cause potential accidents or injury. This fourth step in installing an impact bed will help ensure that your loading dock is safe for employees and customers alike.
The first thing to do when installing legs onto an impact bed frame is to make sure that they are firmly attached with bolts. The bolts should be screwed into both sides of the frame in order to secure it properly. Be sure to check that all four corners have been securely fastened before moving on to the next step.
Step 5: Connect Retaining Rails
The fifth and final step in installing an impact bed is connecting the retaining rails. The importance of a properly installed impact bed cannot be overstated, as it helps to protect and extend the life of expensive loading dock equipment. In order to ensure your impact bed works correctly and continues providing these benefits, it’s important that you connect the retaining rails correctly. Doing so will give you added peace of mind knowing that your investment is secure and functioning properly. Follow these steps carefully to ensure safe connection of your retaining rails: Identify the appropriate holes, Align the parts with each other, Securely fasten with bolts provided by manufacturer. Remember to take all necessary safety precautions when working with heavy materials, such as wearing protective gloves or goggles if needed. With careful adherence to these steps, you can finish successfully installing your new impact bed in no time!
Step 6: Add Fill Material
Installing an impact bed is a straightforward process that requires just a few simple steps. Step 6 of the installation process is adding fill material, which will help protect and cushion the conveyor belt in order to reduce wear and tear. There are many types of fill material available for this purpose, such as wood chips, sand, pebbles or even rubber mats. It’s important to choose an appropriate type of fill material according to the environment and expected conditions.
The amount of fill material needed depends on the size and characteristics of the conveyor belt being installed. Generally speaking, it should be deep enough so that it covers at least two-thirds of its width while leaving room for any diagonal bracing used in holding up the support structure.


