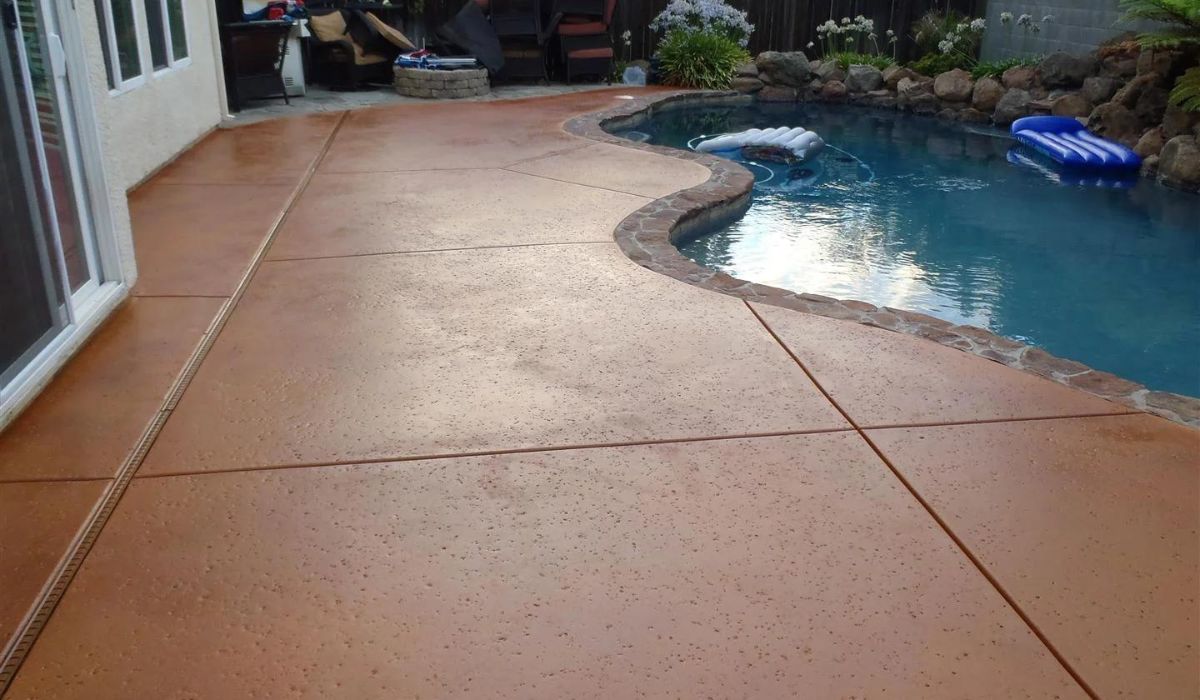
You don’t have to tear up your concrete patio to create a beautiful outdoor space. Staining your concrete patio is an easy and low-cost option to give your outdoor area a more sophisticated look and feel. Achieving a polished look that will elevate the beauty of your patio may be done with the correct equipment, supplies, and know-how. Here, you’ll learn all you need to know to stain your concrete patio and give your outdoor space a whole new look.
Step 1: Gather the Necessary Materials
Make sure you have everything you need on hand before beginning the staining procedure. Get these ready:
- Concrete Cleaner: Choose a high-quality concrete cleaner to remove any filth, grime, or oil stains from the surface.
- A pressure washer is a useful tool for getting the patio spotless before staining it.
- Choose a concrete stain in the colour and finish that you like most. Stains made with water are better for the environment, while those made with acid provide more colour options.
- Apply the stain using a paint roller or a pump sprayer to get an even coat.
- Keep a paintbrush on hand for touching up those hard-to-reach areas that the sprayer or roller missed.
- After the stain has set, a concrete sealer can be applied to preserve and enrich the colour.
- When cleaning and staining, it’s important to take precautions by using protective gear including safety glasses, gloves, and a face mask.
Step 2: Prep the Concrete Surface
First, make sure the concrete is completely clean. Loose dirt and dust should be swept away, and then a concrete cleaner should be used to get rid of any stains or impurities. Use the cleaner as directed and a scrub brush on any spots that persist. Before applying stain, make sure the patio has been thoroughly rinsed with a pressure washer.
Step 3: Test the Stain
Stain should be tested in a tiny, hidden area before being applied to the entire patio. This will give you an idea of how the stain will look on your concrete and allow you to make any necessary adjustments to the application process.
Step 4: Apply the Stain
When the stain’s colour and look have been perfected, you can proceed to covering the entire patio in it. Apply the stain in small parts at first using the sprayer or roller. When applying the stain, be sure to spread it out evenly and prevent leaving any overlapping streaks. When using a paint sprayer or roller, you may need to switch to a paintbrush to get into tight spaces.
Step 5: Allow the Stain to Dry
After applying the stain, wait the recommended amount of time for it to dry. Drying times may differ depending on the stain and the weather. During this time, the stain must cure without being disturbed by foot traffic or heavy items.
Step 6: Seal the Stained Concrete
It is essential to seal your newly stained patio after the stain has cured. The sealer will improve the colour, make it more durable, and shield it from stains, the elements, and ultraviolet rays. To ensure correct application and drying time, according to the manufacturer’s instructions.
Conclusion
An inexpensive method to upgrade your outdoor living space is to stain your concrete patio. A beautiful and long-lasting finish that improves your home’s curb appeal is possible with the correct materials, careful preparation, and expert application. Get ready to get your hands dirty, follow this guide to the letter, and spend countless happy hours with loved ones on your newly tinted concrete patio. Enjoy your staining!


