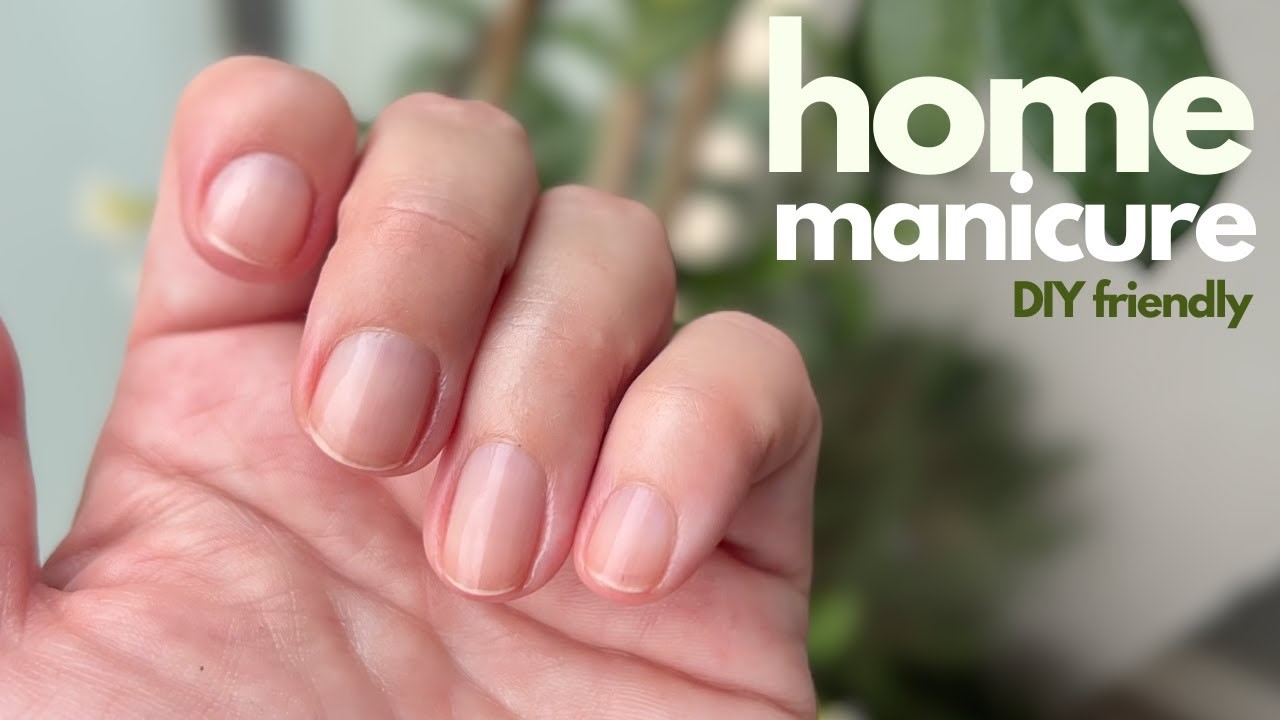
Getting a beautiful manicure can make you feel fancy and elegant. But, going to the salon for manicures can be expensive if you add up the costs over a year. So, if you want to save money and time, you can do your own manicure at home. It’s like a self-care treat, and it’s not hard to do. Just set aside 1-2 hours for this relaxing DIY manicure.
Materials You’ll Need:
- Nail polish remover
- Cotton balls or pads
- Nail clippers
- Nail file
- Cuticle pusher or orangewood stick
- Cuticle oil or moisturizer
- Base coat
- Nail polish of your choice
- Top coat
- Nail buffer (optional)
- Warm water
- Small bowl
- Towel
Step 1: Remove Old Nail Polish
Use nail polish remover and cotton balls or pads to completely remove any old nail polish from your nails. Make sure to get rid of any residue.
Step 2: Trim and Shape Your Nails
Clip your nails to your desired length, and then use a nail file to shape them. File in one direction to prevent nail splitting and create your desired nail shape (e.g., round, square, oval).
Step 3: Soak Your Nails
Fill a small bowl with warm water and soak your fingertips for about 5-10 minutes. This helps soften the cuticles and makes them easier to push back.
Step 4: Push Back Cuticles
Gently push back your cuticles using a cuticle pusher or an orangewood stick. Be careful not to cut or damage the cuticles.
Step 5: Exfoliate and Moisturize
If desired, you can use a gentle scrub or exfoliating product to remove dead skin cells around your nails. Rinse your hands, then apply cuticle oil or a moisturizing cream to your cuticles and hands. Massage it in to keep your skin hydrated.
Step 6: Apply Base Coat
Apply a clear base coat to your nails. This helps protect your nails and creates a smooth surface for the nail polish.
Step 7: Apply Nail Polish
Apply your chosen nail polish color in thin, even coats. Start with a stroke down the middle of the nail, followed by strokes on each side. Allow each coat to dry before applying the next. You may need two coats for solid color coverage. Be patient and allow each coat to dry completely.
Step 8: Apply Top Coat
Once your nail polish is dry, apply a clear top coat to seal and protect the color. This also adds shine to your manicure.
If you’re not experienced in painting nails, it’s a good idea to choose a lighter nail polish color. That way, if you make any mistakes, they won’t show up as much.
Step 9: Clean Up
If you’ve accidentally gotten nail polish on your skin, use a small brush dipped in nail polish remover to clean up around the edges of your nails.
Step 10: Final Touches
Allow your nails to dry completely before using your hands. You can speed up the drying process by dipping your nails in cold water for a few minutes. Finish by applying a little more cuticle oil or moisturizer to keep your hands and nails looking healthy.
Remember that practice makes perfect, and the more you do your own manicures, the better you’ll become. Nails are additional beauty in our personality so make sure you do it correctly if you are not confident you should try professional nail salons.


